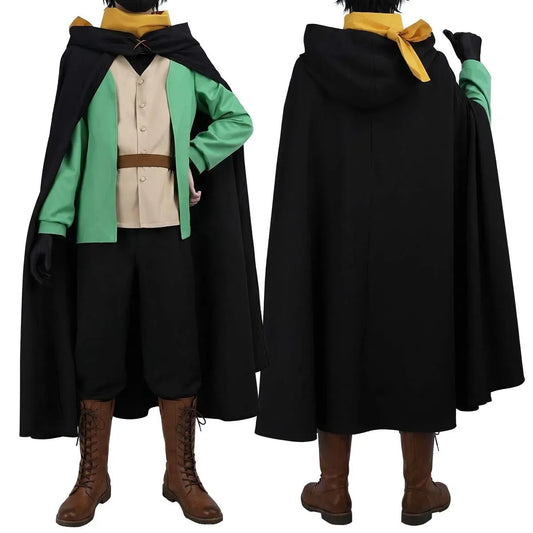


The Ultimate Beginner's Guide to Budget-Friendly Cosplay Costume Creation
Budget-friendly cosplay costume creation is not about “cheap” looking costumes. It’s about building a character look with smart choices: reusing what you already own, thrifting the right base pieces, and spending your effort where it reads on camera and in real life. If you are brand new, the biggest win is realizing you do not need perfect materials or pro sewing to make a cosplay that feels intentional. You need a plan, a few beginner-friendly techniques, and a finishing routine that makes simple materials look polished.
This guide walks you through the full process from picking a beginner character to assembling a clean silhouette, upgrading details, and packing your cosplay so it survives a con day. You will also get a quick recognition checklist, common beginner mistakes (and fast fixes), and a simple “time vs effort” method for deciding what to DIY and what to keep simple.
This guide walks you through the full process from picking a beginner character to assembling a clean silhouette, upgrading details, and packing your cosplay so it survives a con day. You will also get a quick recognition checklist, common beginner mistakes (and fast fixes), and a simple “time vs effort” method for deciding what to DIY and what to keep simple.
Quick takeaway: The best beginner budget cosplays are built from one strong base outfit (thrifted or closet) plus two to four signature details (color, accessory, trim, prop, or hair). Do that, and your cosplay reads as a character, not a costume pile.
Table of Contents What Budget-Friendly Cosplay Costume Creation Means Cosplay Culture Context (Why DIY Matters) Step 1: Plan Like a Pro (Even If You Are New) Step 2: Build the Outfit on a Budget (Closet, Thrift, and Simple Mods) Step 3: Props and Accessories That Look High Effort Step 4: Hair and Makeup for Beginners Step 5: Fit and Finish (The “Looks Expensive” Layer) Recognition Checklist: Does It Read as the Character Common Mistakes and Fast Fixes Who This Method Suits Best Trend Context: Budget Cosplay and Sustainability Next Steps: Build Your Cosplay Kit FAQs
What Budget-Friendly Cosplay Costume Creation Means
Budget-friendly cosplay costume creation is a cosplay workflow where you control cost by controlling complexity. Instead of trying to replicate every seam and texture from the original design, you focus on the parts that make the character instantly recognizable and then build everything else to support those parts.
In plain language: you choose a character you can realistically build, you source base pieces from your closet or secondhand shops, and you use beginner techniques like dye, fabric paint, foam, and simple trims to “push” those pieces into character.
The beginner formula (easy and reliable)
| Layer | Goal | Examples |
|---|---|---|
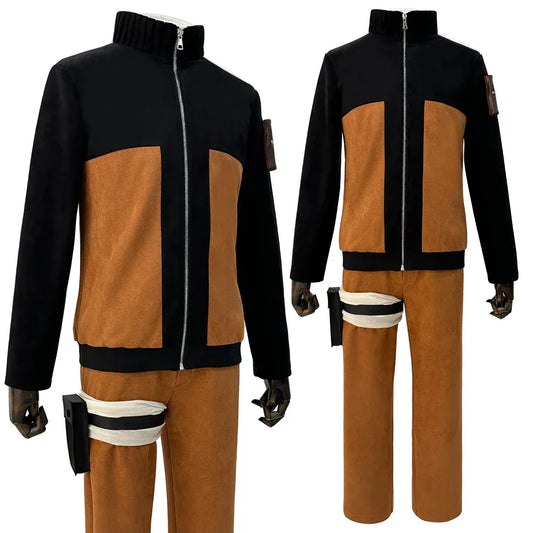
| Base outfit | Matches the silhouette and main colors | School uniform pieces, hoodies, simple dresses, tailored shirt + pants |
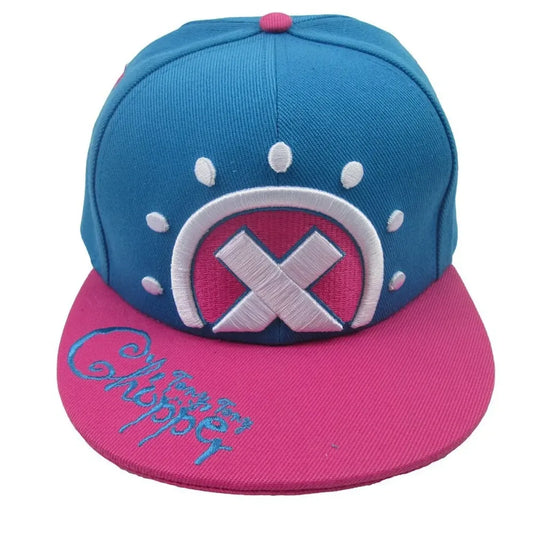
| Signature details | Signals the character instantly | Hair color, emblem, scarf, belt, gloves, distinct collar, hat |
| Finish layer | Makes cheap materials look intentional | Clean hems, pressed seams, sealed foam, matching trims, consistent paint |
Cosplay Culture Context (Why DIY Matters)
Cosplay has always had a strong maker spirit. Even as ready-to-wear cosplay became easier to find online, the culture still celebrates creativity, clever problem solving, and personal interpretation. That matters for beginners because it means you are allowed to simplify.
When you build on a budget, you are stepping into the most classic version of cosplay: learning a skill, experimenting, and improving over time. Many cosplayers build “version one” for the first event, then upgrade details later after they learn what broke, what felt uncomfortable, and what mattered most in photos.
Step 1: Plan Like a Pro (Even If You Are New)
Pick the right character for a first budget build
- Match your natural features when possible: If your hair length, hair color, or body silhouette is already close, you reduce the need for extra pieces.
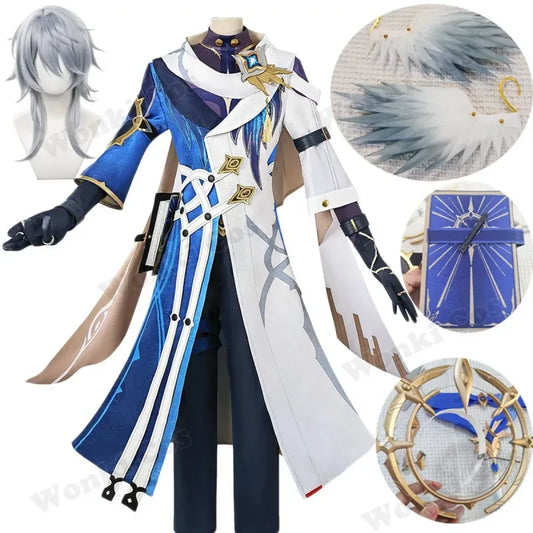
- Choose simple outfits with strong icons: A character with a simple outfit and one signature detail is usually more beginner friendly than layered armor.
- Avoid “prop-dependent” characters at first: If the costume only makes sense with a massive weapon or wings, that can overwhelm a first build.
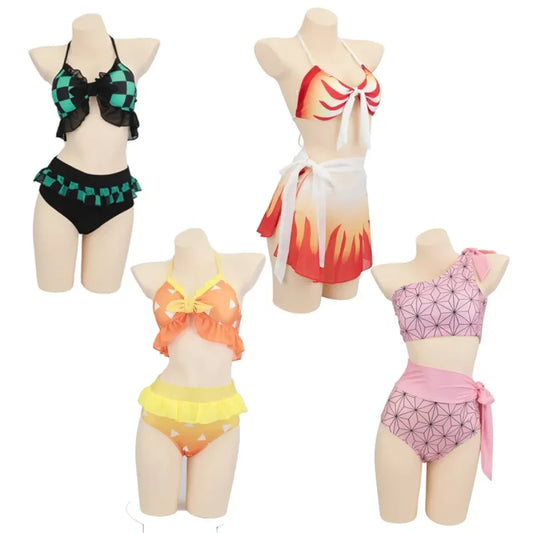
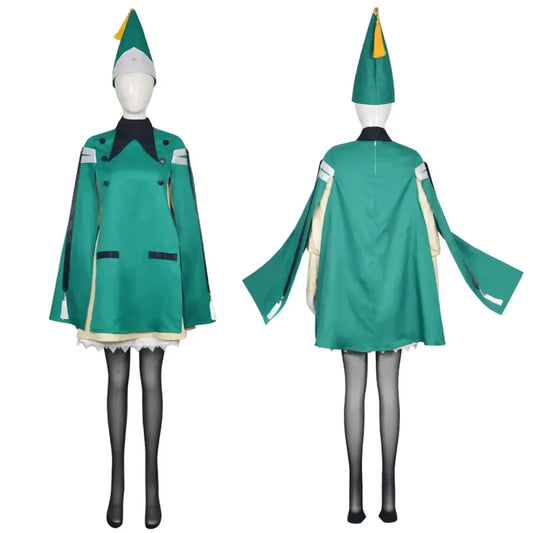
- Start with a casual or alternate outfit: Many characters have school, festival, or casual versions that are easier to recreate.
- Pick something you love: Motivation is a real material. You finish more often when you care.
Make a one-page cosplay plan
Before you shop, make a simple plan that prevents impulse buys:
- Reference folder: 5 to 10 images, including front, back, and details.
- Color list: Write the top three colors and one accent color.
- Parts list: Head, top, bottom, shoes, accessories, prop (optional).
- Priority list: Top three “must-have” details that make the character readable.
- Comfort list: What you need to survive a full day: layers, mobility, pockets, shoes you can walk in.
Internal browse: Cosplay and Anime.
Step 2: Build the Outfit on a Budget (Closet, Thrift, and Simple Mods)
Start with your closet (the fastest budget win)
Do a closet “audit” with your parts list in hand. Look for pieces that can be pushed into character with small changes:
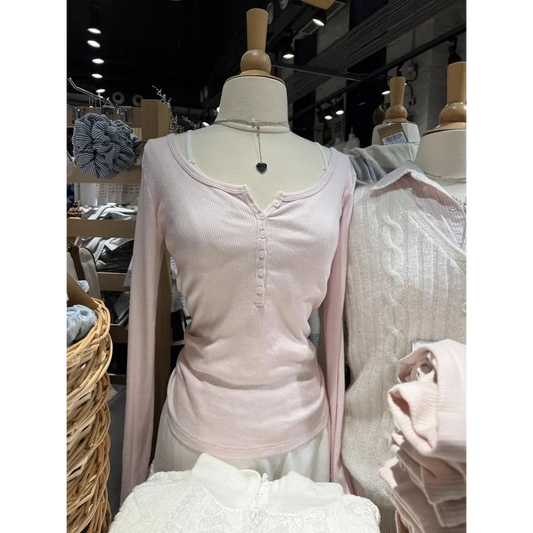
- Plain button-up shirts
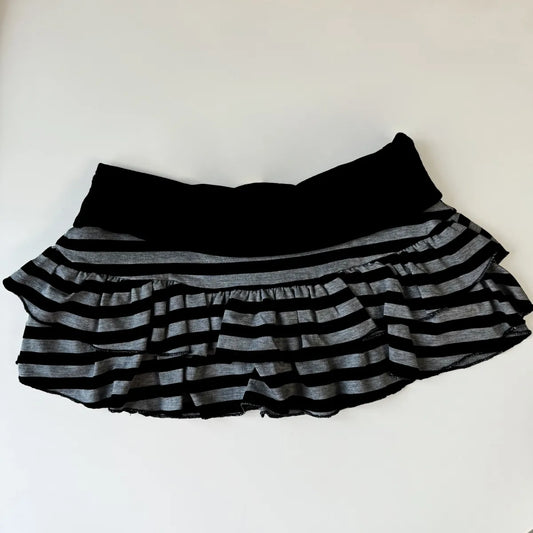
- Solid skirts or pants in the right color family
- Cardigans, hoodies, and jackets that match the silhouette
- Belts, simple boots, sneakers, and neutral bags
Thrift store strategy that actually works
Thrifting is easier when you search for shapes, not characters. Instead of “find the exact outfit,” hunt for a base piece you can modify.
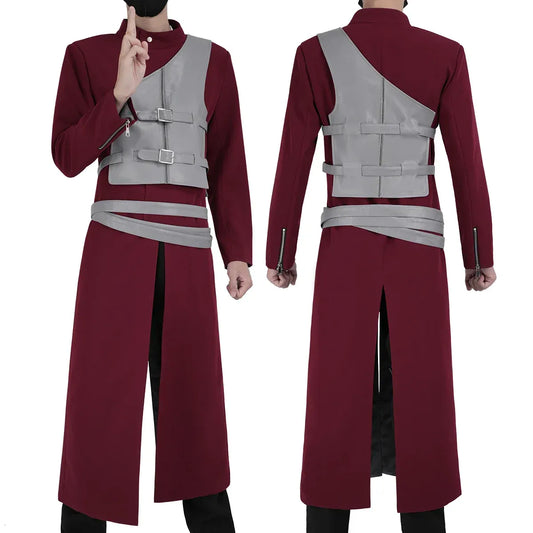
- Search by silhouette: “pleated skirt,” “military jacket,” “sailor collar,” “long coat.”
- Check costume and formal sections: You can harvest trims, lace, belts, and weird gems.
- Buy oversized when unsure: Taking in is easier than adding fabric.
- Focus on fabric behavior: Drapey fabric reads different than stiff fabric. Pick what matches the character vibe.
Beginner modifications (no advanced sewing required)
You can do a lot with beginner tools and patience:
- Fabric dye: Turn a neutral base into a closer match.
- Fabric paint: Add stripes, symbols, and color blocks without rebuilding the garment.
- No-sew hem tape: Clean edges and shorten hems.
- Strategic cutting: Remove collars, sleeves, or pockets to reset the vibe.
- Trim upgrades: Add ribbon, lace, bias tape, or topstitching for a more “designed” look.
The “3-point color lock” trick
If your character has an accent color (red scarf, gold buttons, neon green trim), repeat that accent in three places. Example: scarf + glove detail + hair clip. Three repeats makes a simple outfit feel coordinated.
Helpful searches: Cosplay Uniform, Cosplay Jacket, Cosplay Dress.
Step 3: Props and Accessories That Look High Effort
Low-cost prop materials that photograph well
- EVA foam: Great for armor plates, badges, and lightweight weapon shapes.
- Cardboard: Works for structure, especially when sealed and painted cleanly.
- PVC pipe or dowels: Useful as a core for staffs and long props.
- Household plastic: Bottles and packaging can become futuristic parts.
Finishing is what makes it look “real”
Beginners often stop at “shape made.” The leap to “looks legit” comes from finishing steps:
- Seal the surface: Foam looks better after sealing, then painting.
- Layer paint: Multiple thin coats look smoother than one thick coat.
- Add simple weathering: A light dry brush in darker tones can add depth.
- Control shine: Decide if the prop should look matte, satin, or glossy, and keep it consistent.
Accessories are your “recognition boosters”
If your base outfit is simplified, accessories do the heavy lifting. Think: gloves, headwear, belts, socks, and character jewelry.
Internal browse: Accessories. More searches: Cosplay Headwear, Cosplay Gloves, Cosplay Prop.
Step 4: Hair and Makeup for Beginners
Hair: decide between “close enough” and “character accurate”
Hair is one of the fastest ways to read as a character. If your natural hair is close, you can often get away with styling and temporary color. If it is not close, a basic wig is usually the simplest route.
- Beginner wig plan: Choose a simple base wig, trim slowly, and set the part line neatly.
- Keep styling realistic: For a first build, avoid extreme spikes or complex gradient colors unless you have time to practice.
- Use a wig cap and pins: A secure wig always looks better than a perfect wig that slides.
Makeup: focus on structure, not special effects
Beginner cosplay makeup works best when you keep it simple: even complexion, defined eyes, and a lip color that matches the character vibe. Save heavy face paint for later projects unless it is essential to the character.
- Base: Light coverage that lasts, then set with powder.
- Eyes: Clean eyeliner and lashes (optional) for animation effect.
- Brows: Shape them to match the character mood.
- Setting: Finish with setting spray so your work stays intact.
Useful searches: Cosplay Wig, Cosplay Makeup, Setting Spray.
Step 5: Fit and Finish (The “Looks Expensive” Layer)
Fit: the secret ingredient beginners overlook
A thrifted outfit can look instantly more intentional with small fit improvements:
- Shorten sleeves and hems so they sit where they should
- Add darts or take in side seams for cleaner lines
- Use a belt or hidden safety pins to control shape
- Press your costume with an iron or steamer
Consistency: pick one “material story” and stick to it
Cheap costumes usually look cheap when textures fight each other. If your character reads “matte uniform,” keep most pieces matte. If your character reads “shiny armor,” keep the shine consistent.
Pack a mini repair kit
- Safety pins, fashion tape, and a small roll of double-sided tape
- Mini glue or glue dots
- Extra hair pins and a spare elastic
- Small powder and blotting sheets
Helpful searches: Cosplay Shoes, Cosplay Socks, Cosplay Bag.
Recognition Checklist: Does It Read as the Character
Use this 60-second check before your event photos:
- Silhouette check: From 10 feet away, does the overall shape match the character era and vibe?
- Color check: Are the main colors correct, and is the accent repeated at least twice?
- Icon check: Do you have the top two signature details (hair, emblem, scarf, hat, weapon)?
- Texture check: Do materials feel consistent, not random?
- Finish check: Are hems clean, props sealed, and stray threads removed?
Common Mistakes and Fast Fixes
- Mistake: Buying too many “maybe” items. Fix: Only buy for your parts list, and prioritize the top three character signals.
- Mistake: Building everything at once and burning out. Fix: Finish the base outfit first, then add details in layers.
- Mistake: Skipping finishing steps. Fix: Add a final day for pressing, sealing, touch-up paint, and accessories alignment.
Who This Method Suits Best
- First-time cosplayers who want a clear plan that leads to a wearable result.
- Students and busy creatives who prefer smart shortcuts over complicated builds.
- Closet cosplay fans who love reusing pieces and building a cosplay wardrobe over time.
Trend Context: Budget Cosplay and Sustainability
Budget cosplay and sustainable fashion overlap more than people realize. Thrifting, upcycling, and repurposing materials reduce waste and encourage long-term use. Many cosplayers now build “re-wearable” versions of costumes that can be styled as everyday outfits, which means your work does not live in a closet forever.
Next Steps: Build Your Cosplay Kit
If you only do three things this week
- Pick one beginner character and make a one-page plan with references and a parts list.
- Lock your base outfit using closet pieces and one thrift trip focused on silhouette.
- Choose two signature details and finish them cleanly (hair, emblem, scarf, accessory, or prop).
Explore pathways: Cosplay, Anime, Accessories. Extra searches: Cosplay Set, Character Wig, Anime Cosplay.
FAQs
What is the easiest type of cosplay to make on a budget?
The easiest budget cosplay is one built from everyday clothing silhouettes: school uniforms, casual outfits, or simple dresses with one signature accessory. You get character recognition without complex tailoring.
How do I choose a character that will not overwhelm me?
Choose a character with a simple base outfit, minimal props, and two or three defining details. If you can describe the cosplay in one sentence, it is usually beginner friendly.
Do I need to sew to make a good beginner cosplay?
No. Many beginner cosplays rely on dye, fabric paint, no-sew hem tape, trims, and careful styling. Sewing can help, but it is not required to look intentional.
How can I make cheap materials look more professional?
Focus on finishing: press garments, clean hems, seal and paint props in thin layers, and keep textures consistent. The “professional” look is mostly clean edges and controlled detail.
What should I prioritize if I am short on time?
Prioritize the base outfit fit and the top two character signals (usually hair and one signature item). A clean, wearable base with strong identifiers beats an unfinished complex build.
Tags:
Previous
Kawaii vs Traditional Lingerie: Which Adorable or Elegant Style Suits Your Personality?
Next
The Ultimate Anime Inspired Perfumes Guide Every Otaku Needs
Related articles

Kawaii Swimwear Style Guide for Every Body
Jul 09 2026
Fourth of July Kawaii Fashion & Outfit Ideas
Jul 03 2026
Water Activated Graphic Liner for Kawaii Looks
Jul 02 2026
Citlali Dakimakura Guide for Anime Fans
Jun 30 2026